The Illustrated Building was my first large-scale project. I wanted to create something that was uniquely mine, but also something that wasn't just a simple, quick animated logo. As I often do, I looked to practical application before boundless ambition. I knew the supposed client was my college, but since the project was created by me and did not initially have official ties to the college, I had to discern all elements of ideation myself.
Since this was not for a specific class, finding time to work on the project was challenging. It ate up a great deal of my free time for weeks on end, but finally understanding exploring modelling, texturing, lighting, animating, and rendering was eye opening. Creating virtually every asset myself from scratch, I was beginning to make something I could be proud of. As the weeks pressed on, I learned modelling work-flow when I was stumped with a texturing problem and discovered the beauty of volumetric lighting when the modelling was feeling particularly overwhelming. Trial and error of processes contributed to the project's lengthy time-frame, figuring out how to get the stained glass to look just right or learning to reduce choppy view-port lag by turning off the stained glass texture plane.
The beauty of this medium is that the refinement stage is ongoing—I can change this project as much as I want, and simply render out a new version with the changes. Unfortunately, when I got to the render stage, I ran into a bit of a problem. As a one man army, I have to utilize the resources of one person. This means that my render farm, as it is known in the industry, is more like a render garden, comprising of my laptop (a few months old), my desktop (four years old), and my school’s media department editing computer (two years old). I clocked over 50 hours of render time on my laptop, 130 hours of render time on my desktop, and 70 hours on the school computer. As it turns out, volumentric lighting, ambient occlusion, danel shaders, and 1200 frames of animation are definitely not quickly churned out. It was an enjoyable first project, and I am still proud of the final look.
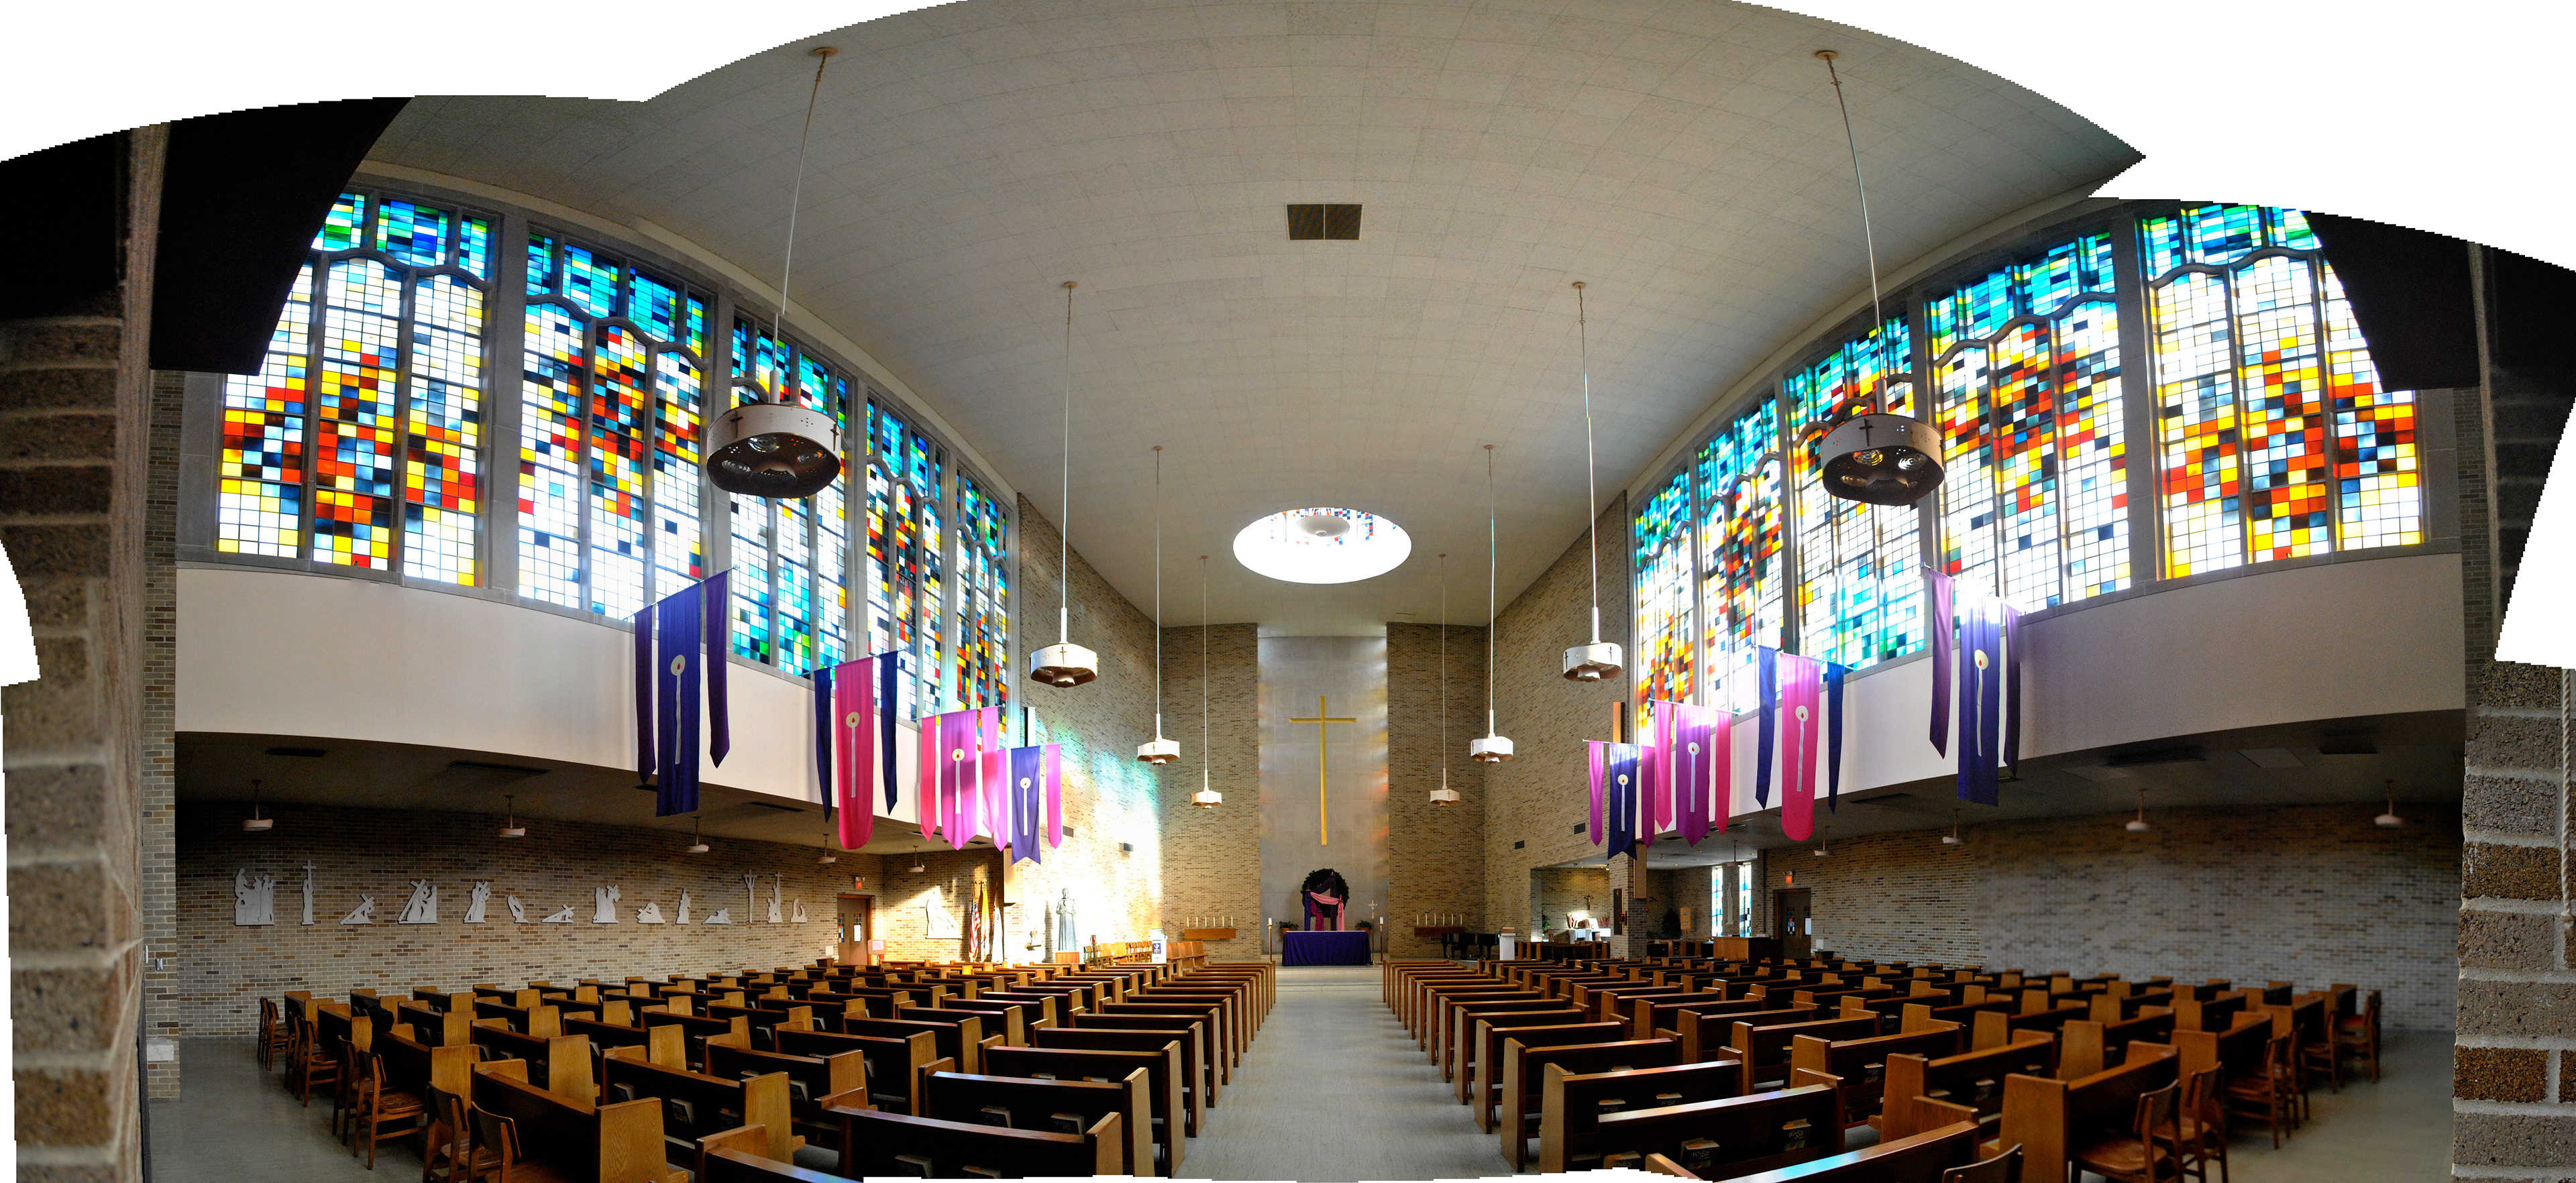
A panoramic photograph of the St. Joseph Chapel’s entire interior, referencing the whole interior and an understanding of proportion and space
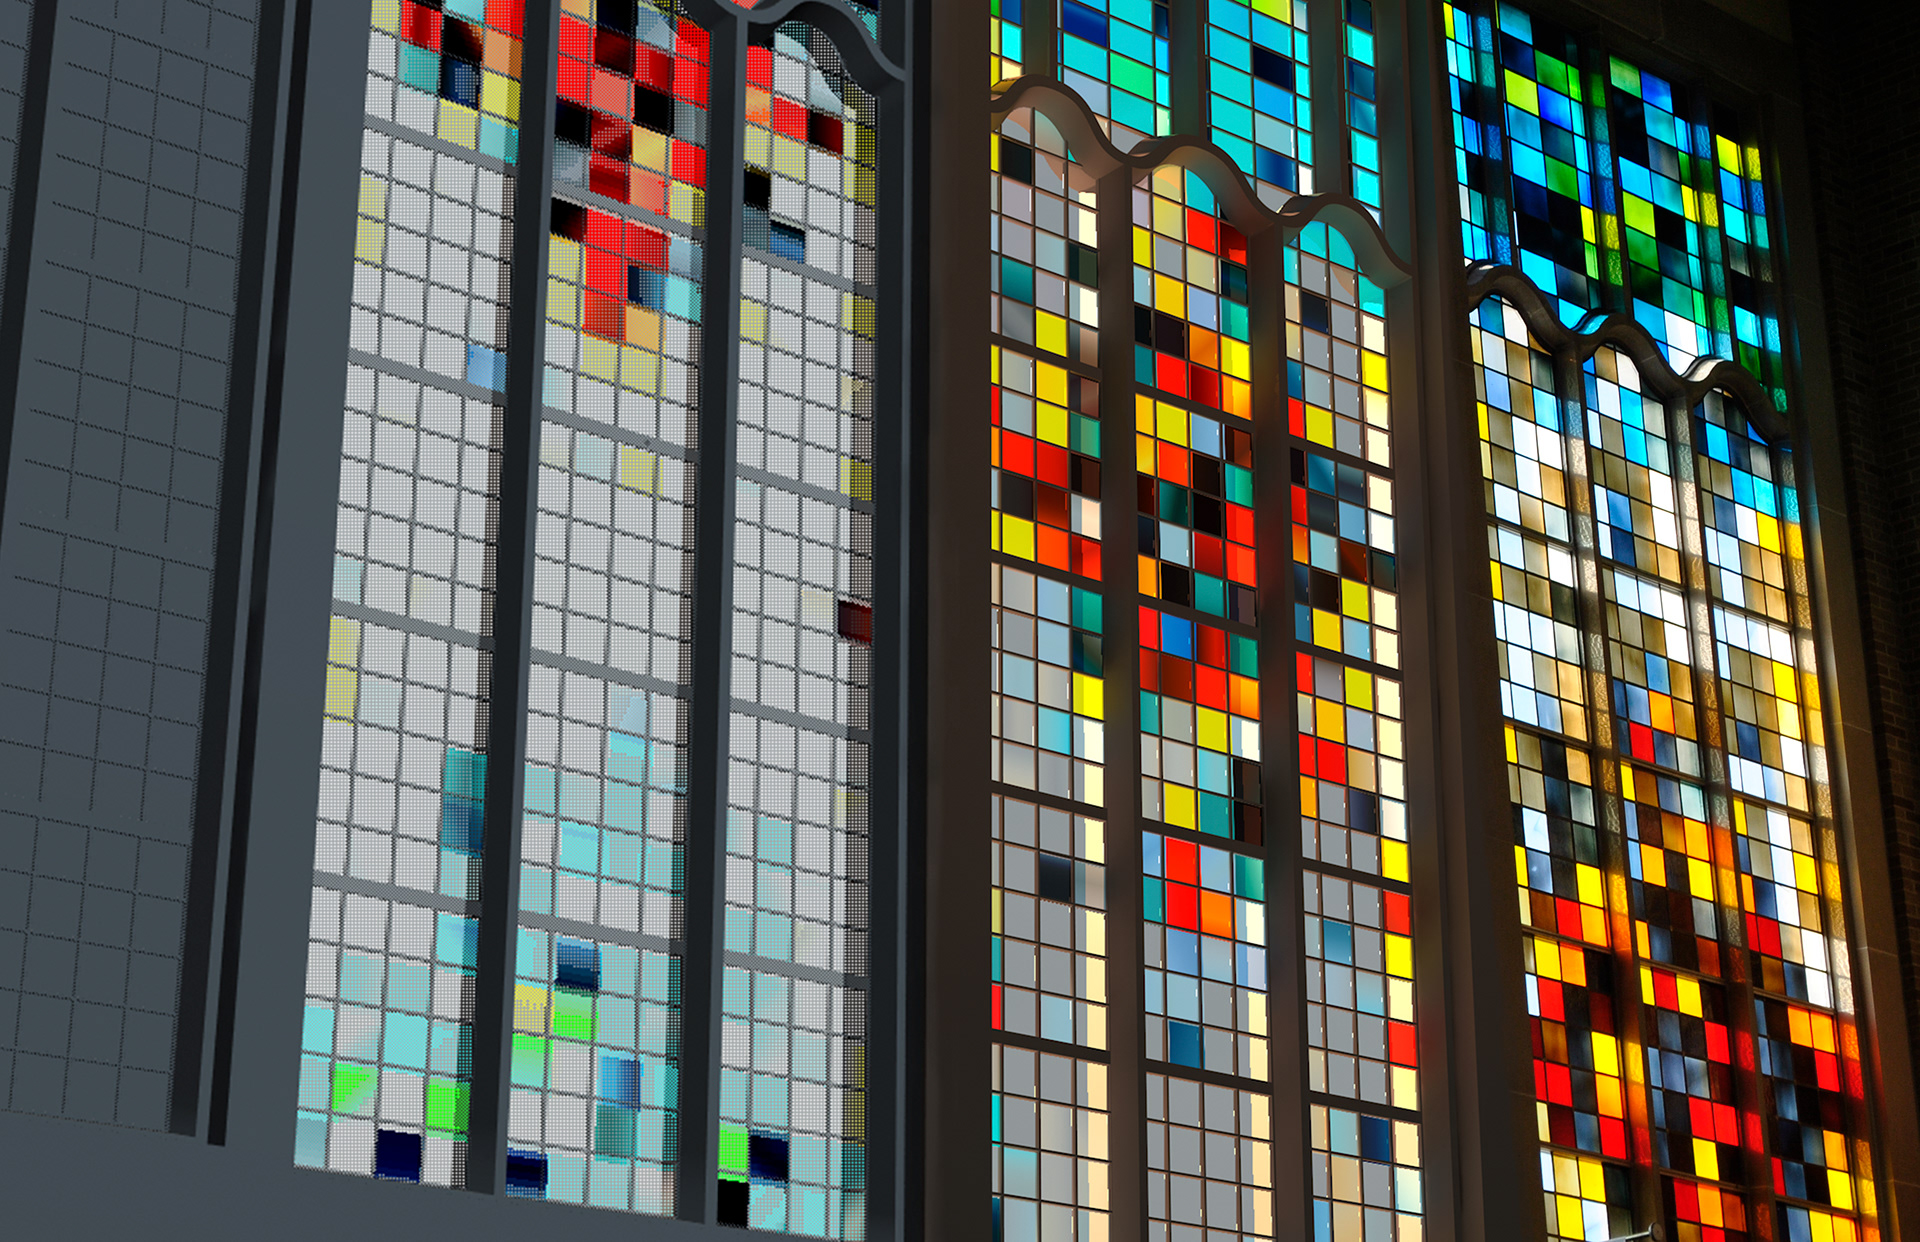
Left to right: my untextured model, the draft view of the model, final rendered model, and photograph of the actual pane

The evolution of the spline based window frame model structure to its texturing in illustrator, finally leading to the final render

The finished, rendered still of the initial stained glass pane
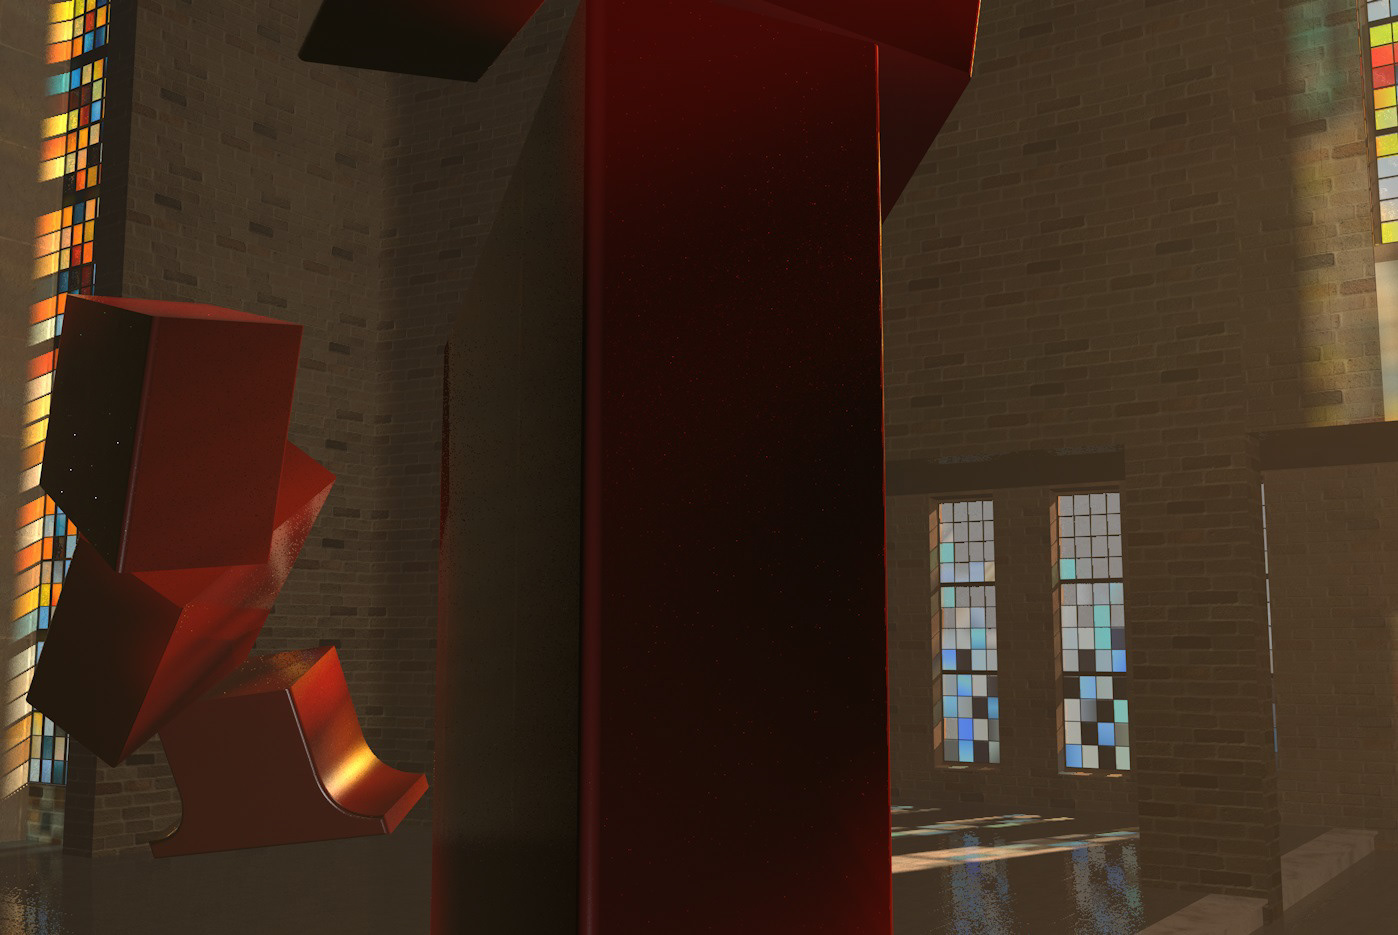
A rendered image from the final project without depth of field, showcasing the lighting and variance in texture
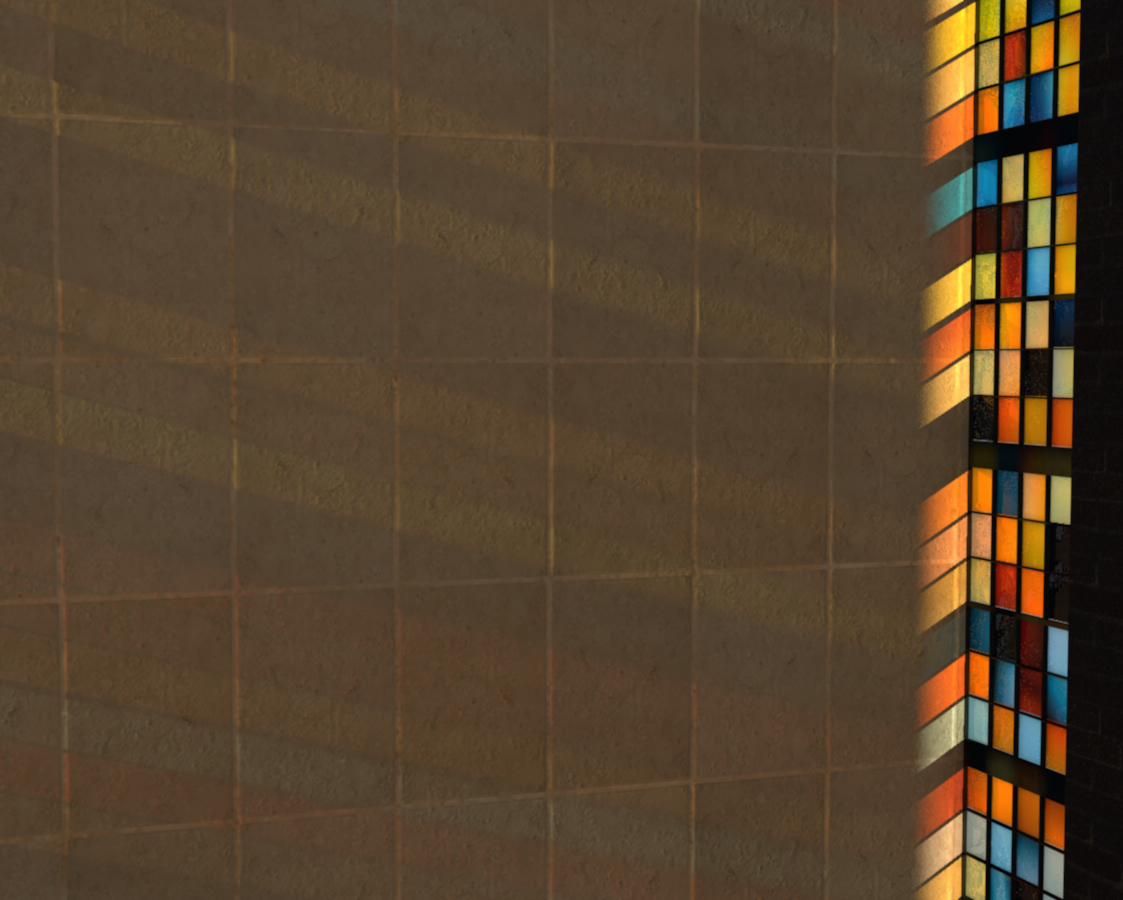
A rendered picture of the back wall, showcasing the dynamic lighting of the stained glass on the detailed stone wall
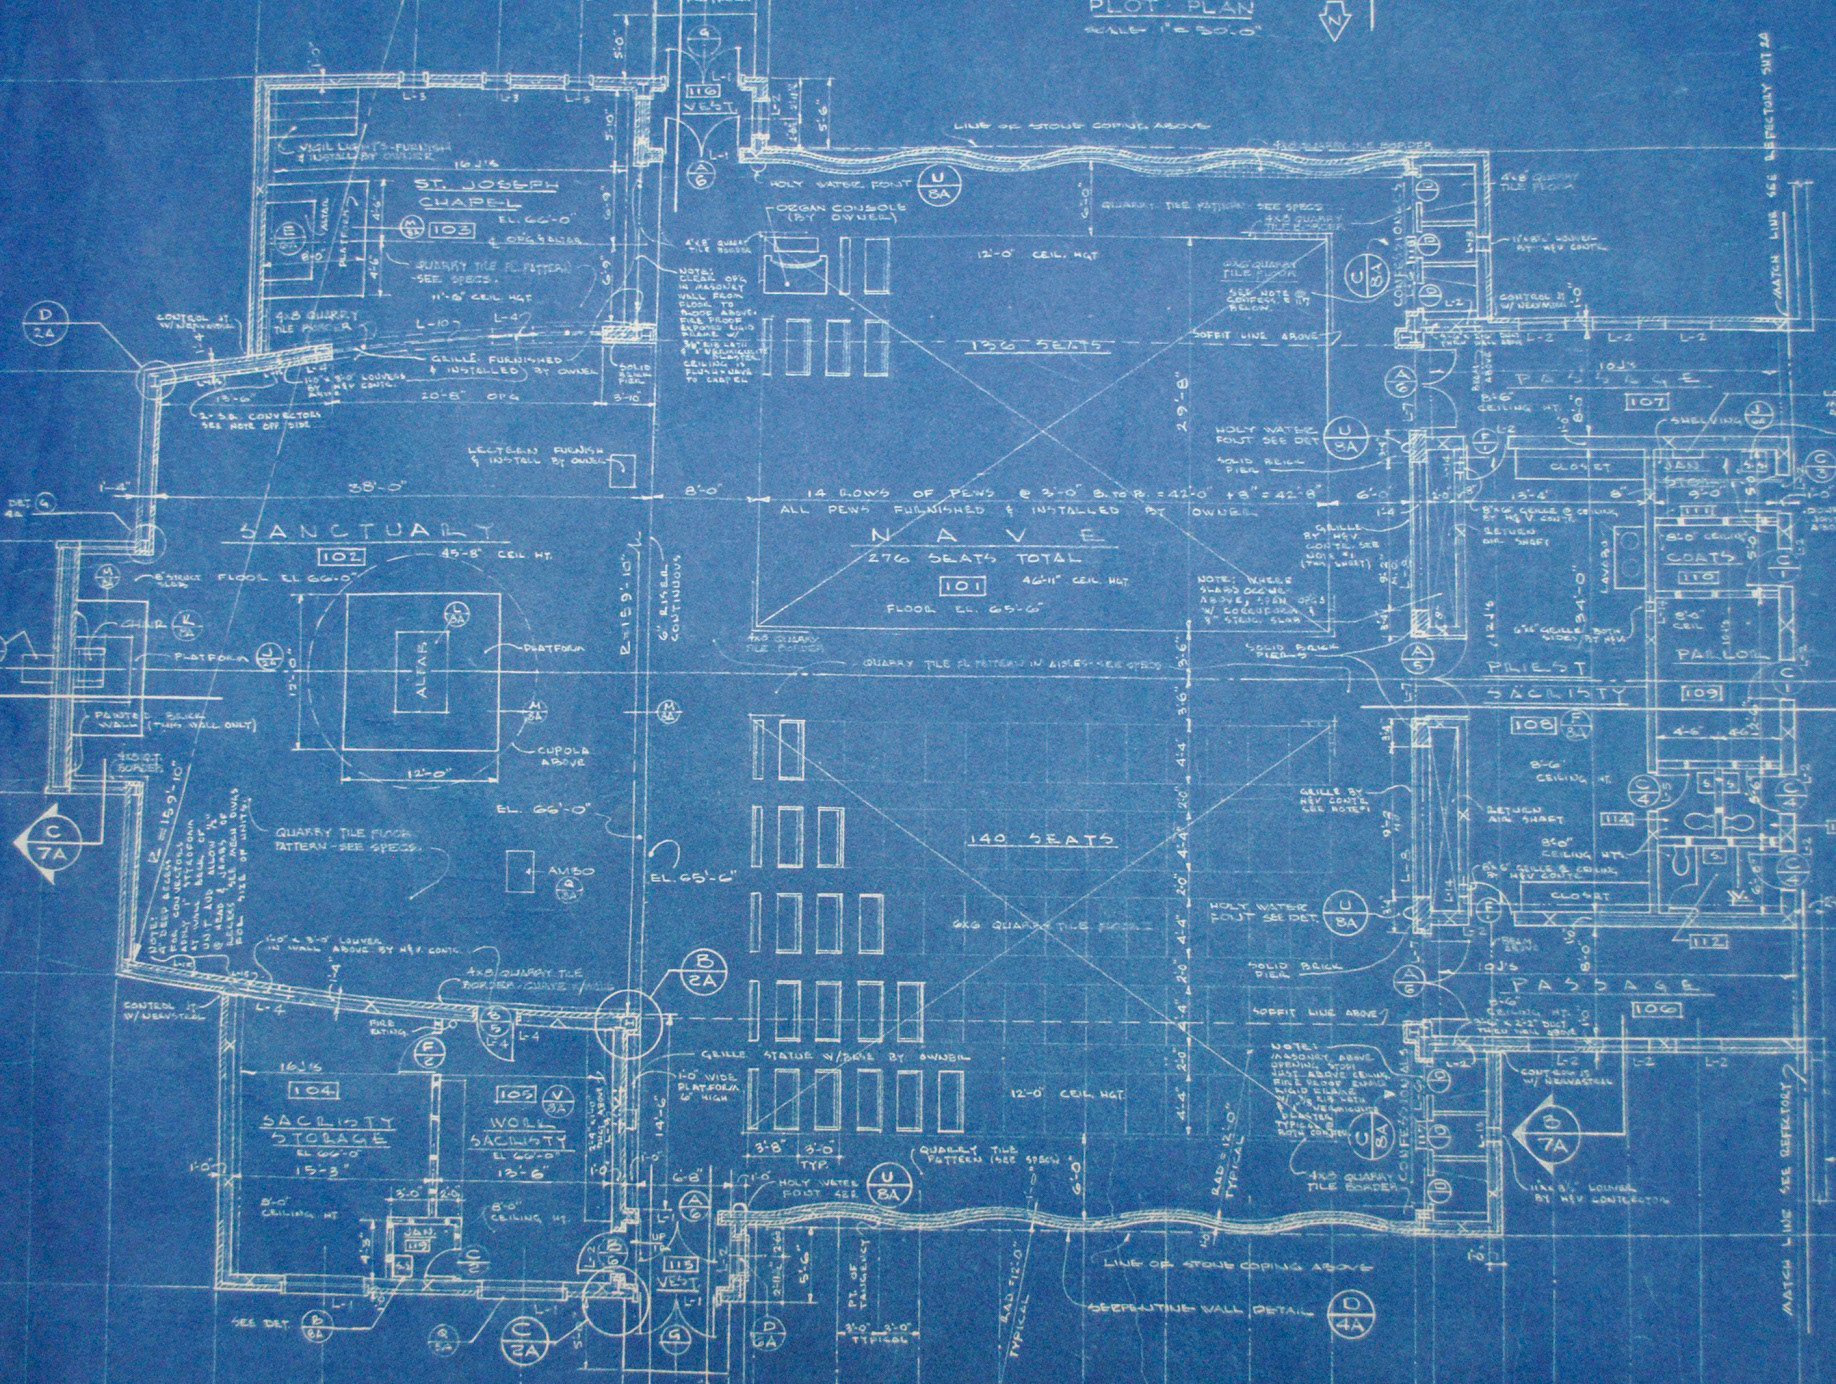
A photograph of one of the many blueprints I received in order to implement exact proportions and further understanding of the main structure